2.2 The interface
Note: A detailed explanation of the terminology used within MyID and this document is provided in section 2.3, Terminology.
When you first log on to MyID Desktop, the system will look similar to the following:

If there are any system messages, they appear at the top of the screen. For some messages, you can click the arrow  to take you to the appropriate workflow; for example, if your system is not set up for production use, clicking the arrow takes you to the Security Settings workflow to allow you to set up your security options for production use; if your system's license is expiring soon, clicking the arrow takes you to the Licensing workflow.
To access a workflow, click Start a new action.
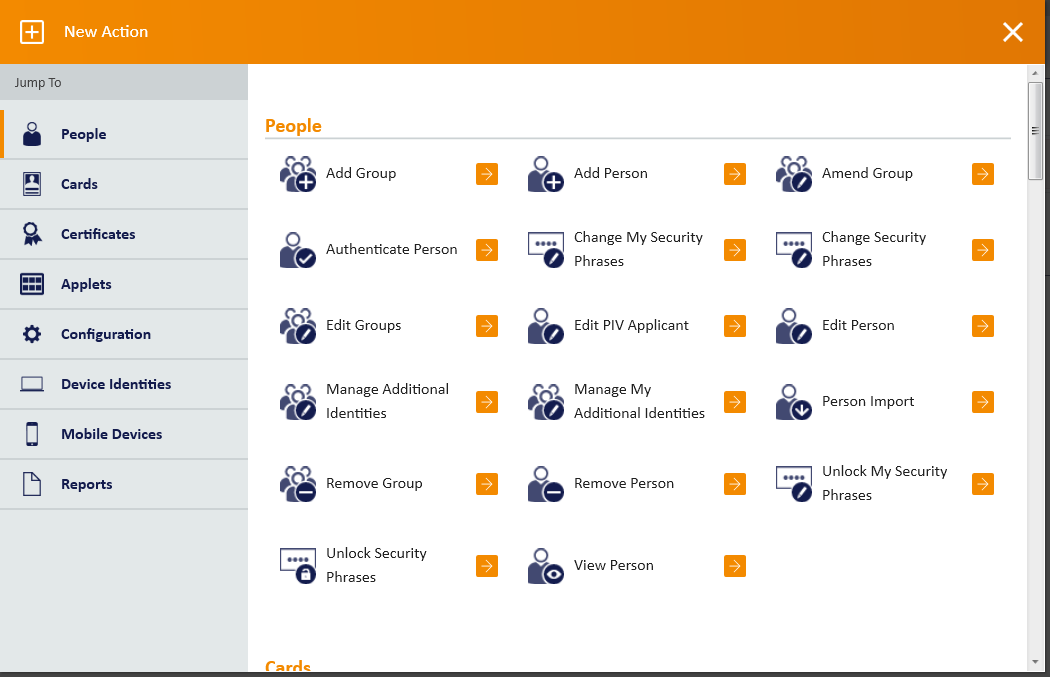
The list of categories and workflows will be tailored for you according to your role
Workflows guide you through the steps of a task. For example, to view the details of a person in the system, from the People category, select the View Person workflow. Each workflow comprises a series of stages and MyID automatically moves from one stage to the next in the correct order.
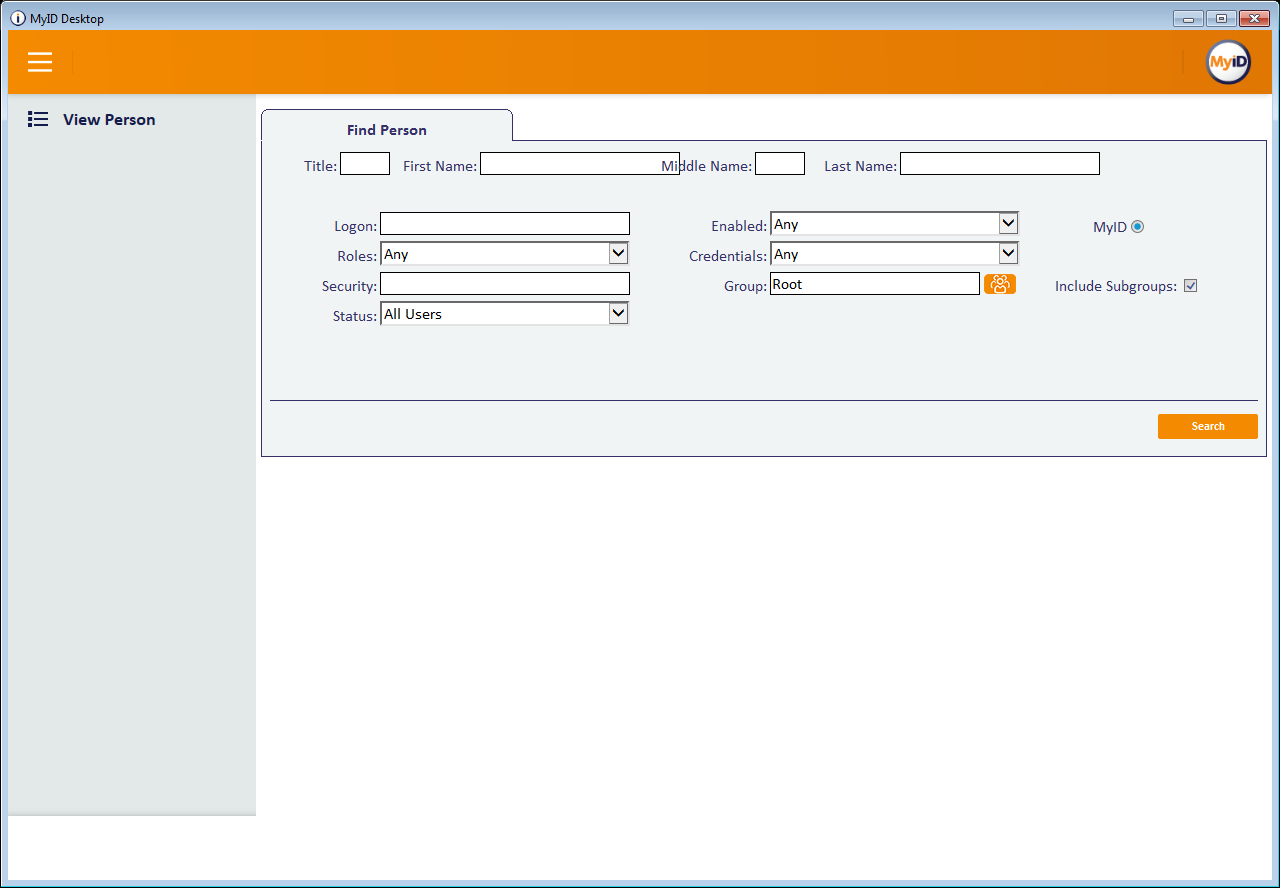
A form is displayed for each stage. Some forms, such as the Person Details form, consist of a number of named tabs.
Warning: If you restart the current workflow, or start a different workflow, before saving your changes, the changes are lost.
In addition to the standard Windows controls (select lists, text boxes and text areas, radio buttons and checkboxes), MyID uses a graphical representation of a checkbox that shows one of two or three states (Ask is not always applicable). You may be able to click the image to toggle between the available states.
 Enabled, True or Yes
 Disabled, No or False
 Ask or Prompt
 An information icon may provide additional information about a topic in the form of a tooltip.
You can use navigation buttons to move through pages of information. The buttons available depend on how many pages are available, which one you are currently viewing and whether you are viewing the results of a search:
 Show first page of information.
 Show last page of information.
 Show previous page of information.
 Show next page of information.
 Show next block of information.
 Show only results.
 Show search criteria.
 Change the number of rows displayed.
Note: Information displayed in a table can be sorted in ascending or descending order, based on a selected heading. Click a heading to sort by that value; click it again to reverse the sort order.
To return to the dashboard, start a new action, or log off, click the menu button at the top left.
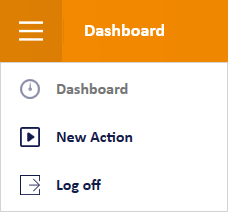
You can return to the dashboard when you are in a workflow, and you can start a new action when you are on the dashboard.
When you complete a workflow, the confirmation screen appears. This screen displays information for the workflow you have just completed. For some workflows, the Checks Made section displays any checks that occurred; for example, if you attempted to change a PIN to the same as the original PIN before correctly changing it to a new PIN.

As you work with MyID, your most recent workflows will appear on your dashboard:

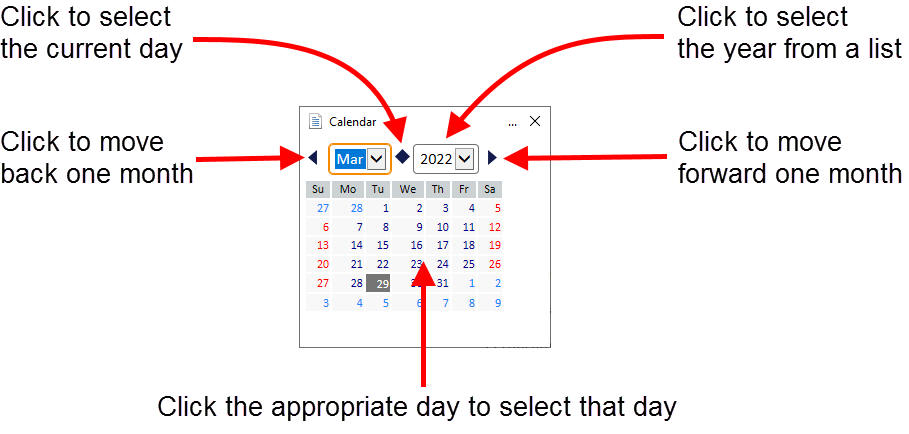
2.2.1 Selecting dates
Various workflows in the system allow you to enter a date. The date control works in the same way in all workflows.
To select a date, click the calendar button next to the field:
2.2.2 Entering search criteria
The method used for entering search criteria depends on the workflow you use. Some workflows use wildcard searching; in this case, this is detailed in the procedure for using that workflow.
Other workflows use a more sophisticated form of searching. In this case, the procedure for using the workflow contains a link to this section.
When searching within the search box, any criteria entered are automatically used as prefix criteria in a full text search against the logon name and full name fields.
For example, typing sam will find any users for whom an element of their logon name or full name starts with sam.
For example:
- Samuel Smith
- John Samson
- [email protected]
Note: It will not find the criteria within an element; for example:
- MySam Jones
You can enter multiple criteria, in which case a prefix match must be found in one of the fields for each criteria.
For example, sam jon will find:
- Samuel Jones
- Jonathon Samson
But not:
- Sam Littlejohn
Note: The prefix search applies to each element of the field. Fields are split up by any non-alphanumeric character with the exception of apostrophes.
For example, you can find [email protected] using:
- Sam
- Jones
- companycom
Or any prefix of those elements.
You can find John O'Reilly using:
- John
- O’Reilly
But not:
- Reilly
You can find Ralph Fiennes-Johnson using:
- Ralph
- Fiennes
- Johnson
You can find any accented characters using their plain equivalent.
For example, you can find Heinz Müller using:
- Heinz
- Muller
Any numbers are automatically parsed numerically, so typing 1 will find:
- 1
- 01
- 001
- 0001
and so on.
If you enter a wildcard character such as * (asterisk) this is treated as a literal value; this means that you cannot find Sam using S*m.
Any separator characters are treated as separators and not explicitly matched. For example, you can use:
- jones/sm
to find:
- jones-smith
2.2.3 Using advanced search
In addition to using wildcard searching against the logon name and full name, some workflows allow you to filter the search based on other criteria.
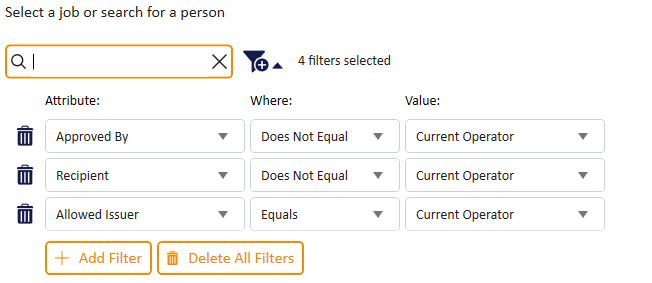
- To add a filter, click Add Filter.
- To delete a filter, click the delete icon
 .
. - To delete all filters, click Delete All Filters.
- To filter on a different attribute, select the attribute from the Attribute drop-down list.
The attribute you select determines what sort of comparisons you can use; for example, for operator-based attributes (such as Approved By) you can filter on jobs where the approver does not equal the current operator, or where the approver does equal the current operator; for group-based attributes, you can match a group, or match any groups in and below the selected group. For free text fields like the job label you can type the value you want to search for.
Set the Where and Value options to appropriate values for the attribute, then click Search.